Automating development with CI/CD
Pipelines

This post was adapted from my presentation on Pipelines for MacAdmins
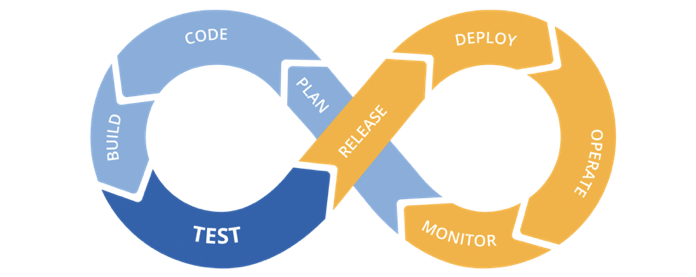
A CI/CD pipeline is an automated process that allows developers to automatically build, test, and deploy their code. In this post we will cover continuous testing wherein once code has been committed to our git repo automatic code tests can be run across different versions and environments as well as staging a build to ensure everything.
There are many different pipeline offerings from GitHub Actions, GitLab Pipelines, Travis CI, Bamboo, Azure Pipelines, GCP Cloud Build, AWS Code Pipeline and many more. GitHub actions is an easy one to get started with due to it’s tight integration however the referenced presentation predates GitHub actions so let’s use Travis CI.

The way it works is when you commit some code to git it triggers a webhook to start the pipeline. The pipeline then pulls the code you just commit and runs the tasks set out in the pipeline. You can configure what tasks to run in a YAML file usually, it’s also possible to define the task in your pipeline of choice but keeping it in YAML is best. Let’s get started.
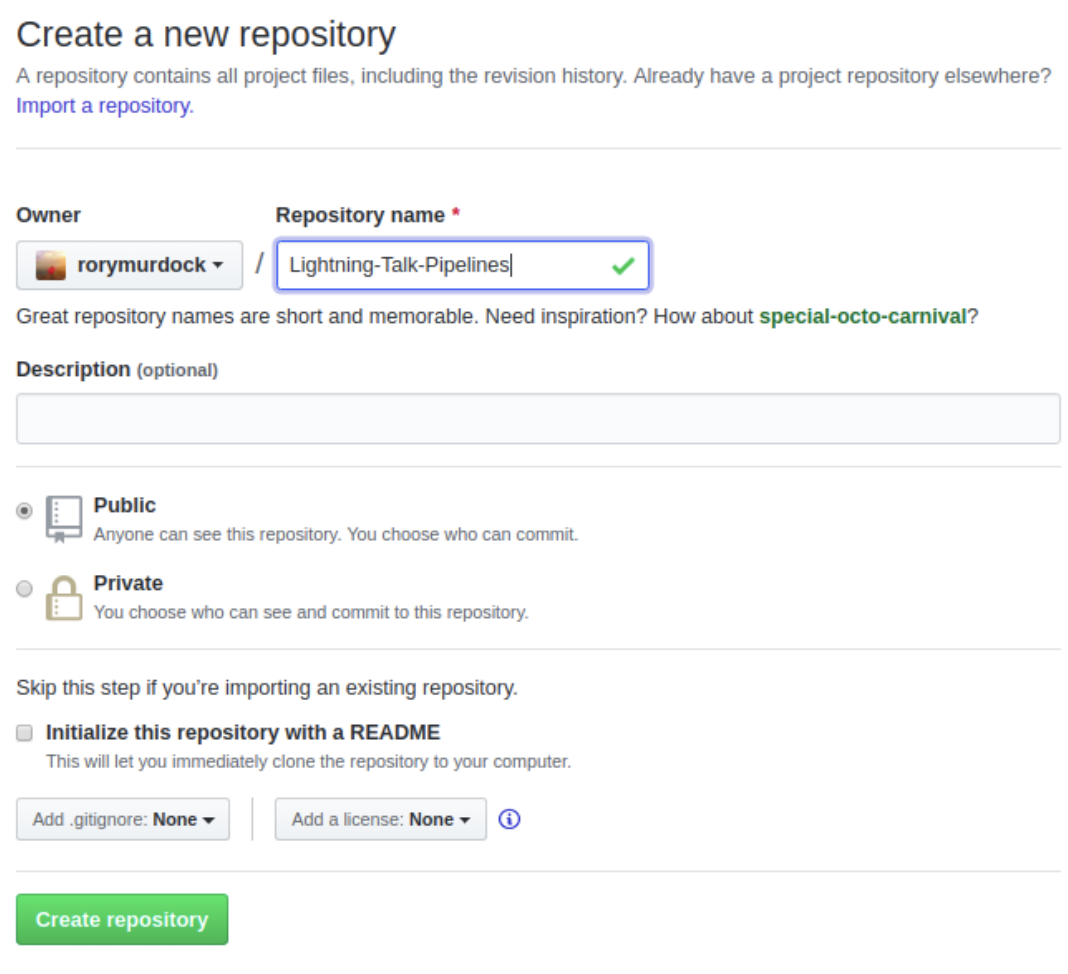
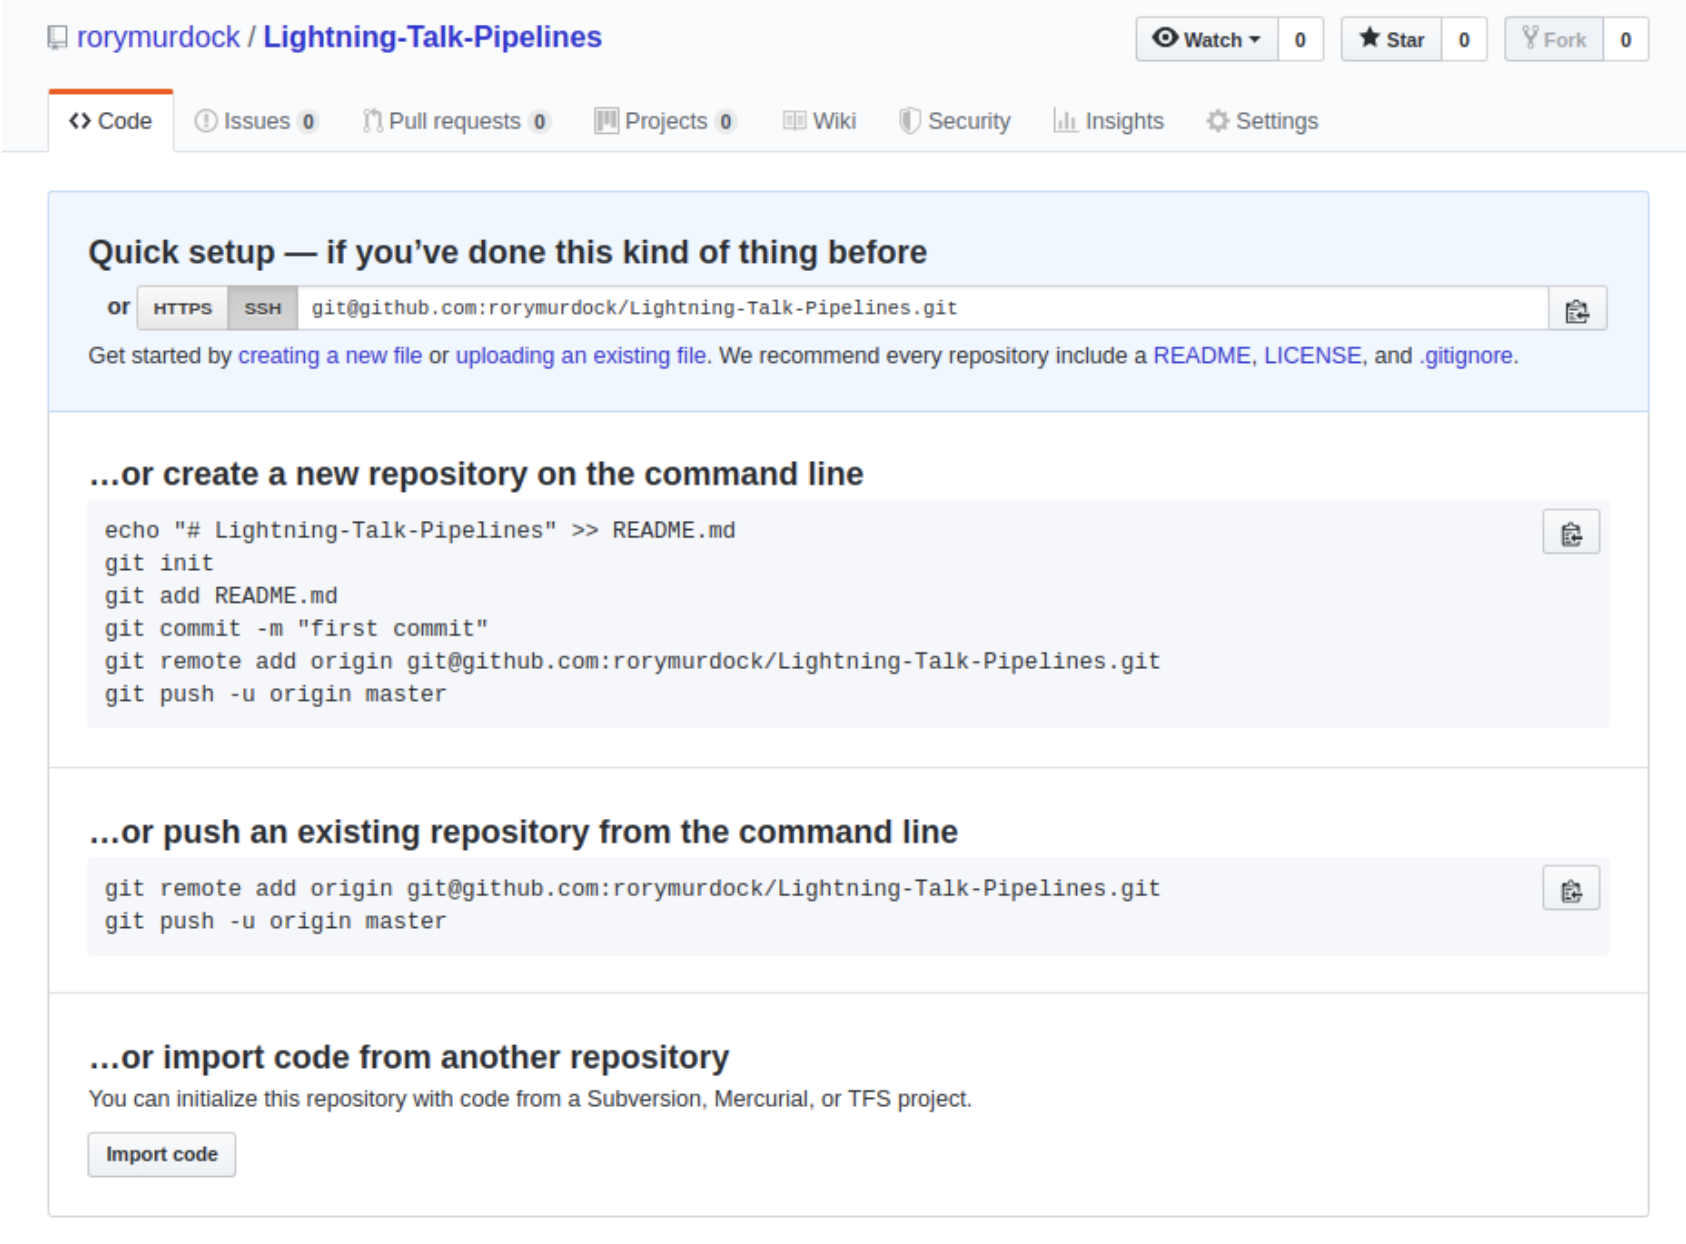
First create your git repo
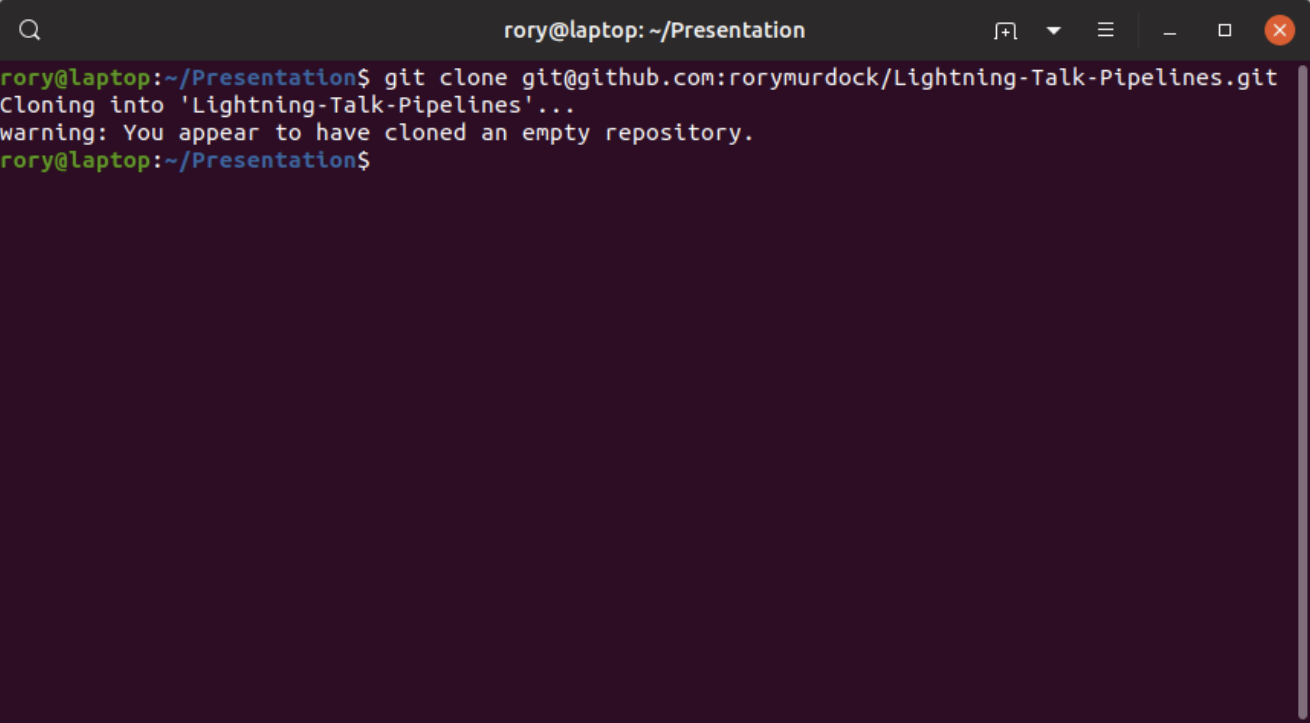
Then clone it
First create .travis.yml and paste in the following, it’s a very simple example, there’s a lot more you can do with advanced configuration
language: python
python:
  - "3.5"
  - "3.6"

# command to install dependencies
install:
  - python -m pip install -r requirements.txt
  - python -m pip install pytest-cov coveralls

# command to run tests
script:
  - python setup.py -apikey $api_key
  - python -m pytest Tests/ --cov=./ -v
after_success:
  - coveralls
Let’s go through it:
language: python
We’ll be using python
python:
  - "3.5"
  - "3.6"
Testing with python version 3.5 and 3.6
install:
  - python -m pip install -r requirements.txt
  - python -m pip install pytest-cov coveralls
Run the commands to install required packages and additional pytest requirements
script:
  - python setup.py -apikey $api_key
  - python -m pytest Tests/ --cov=./ -v
Run the script to configure the API key ad the run pytest to start the tests
after_success:
  - coveralls
After pytest has run submit the coverage report to coveralls - Coverage refresher
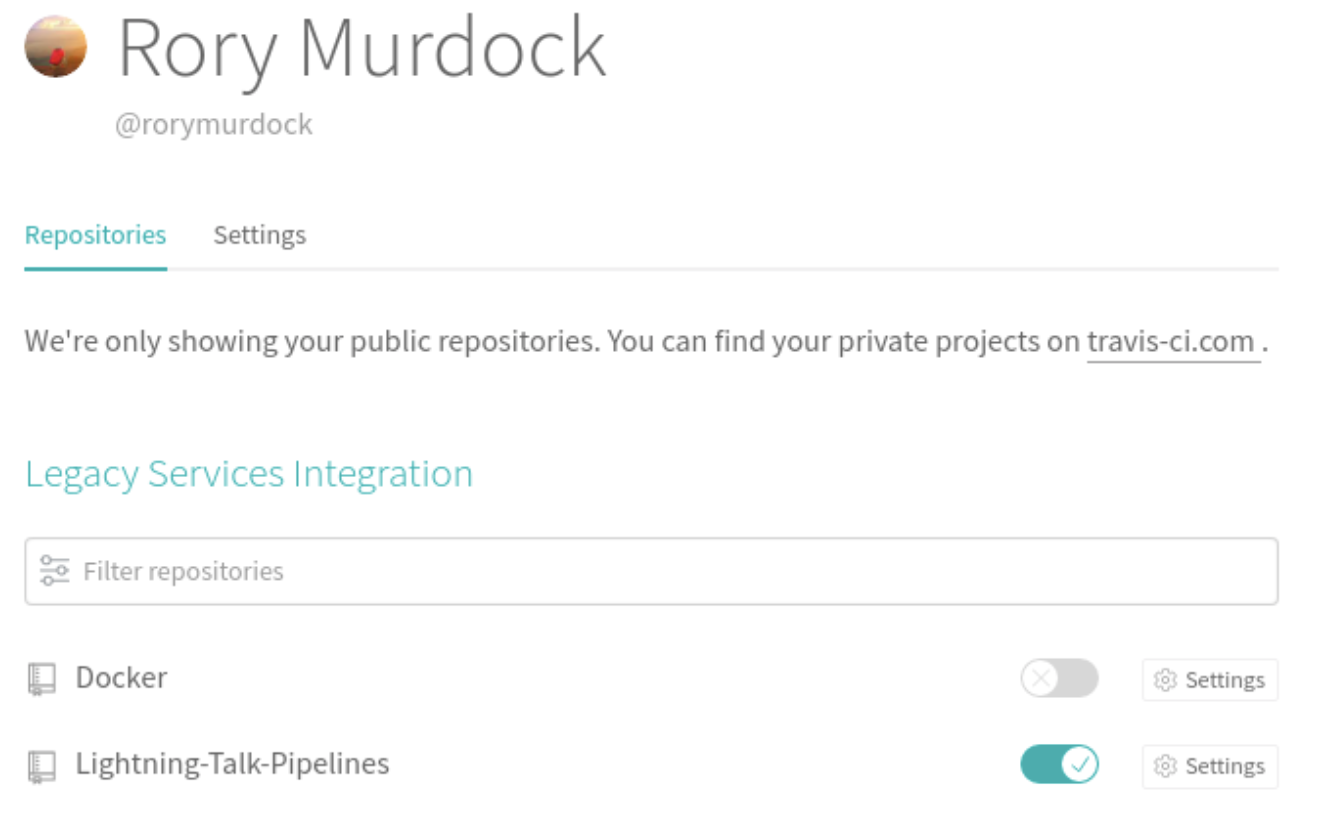
Login to your travis account, add your github account, and then enable testing on your repo
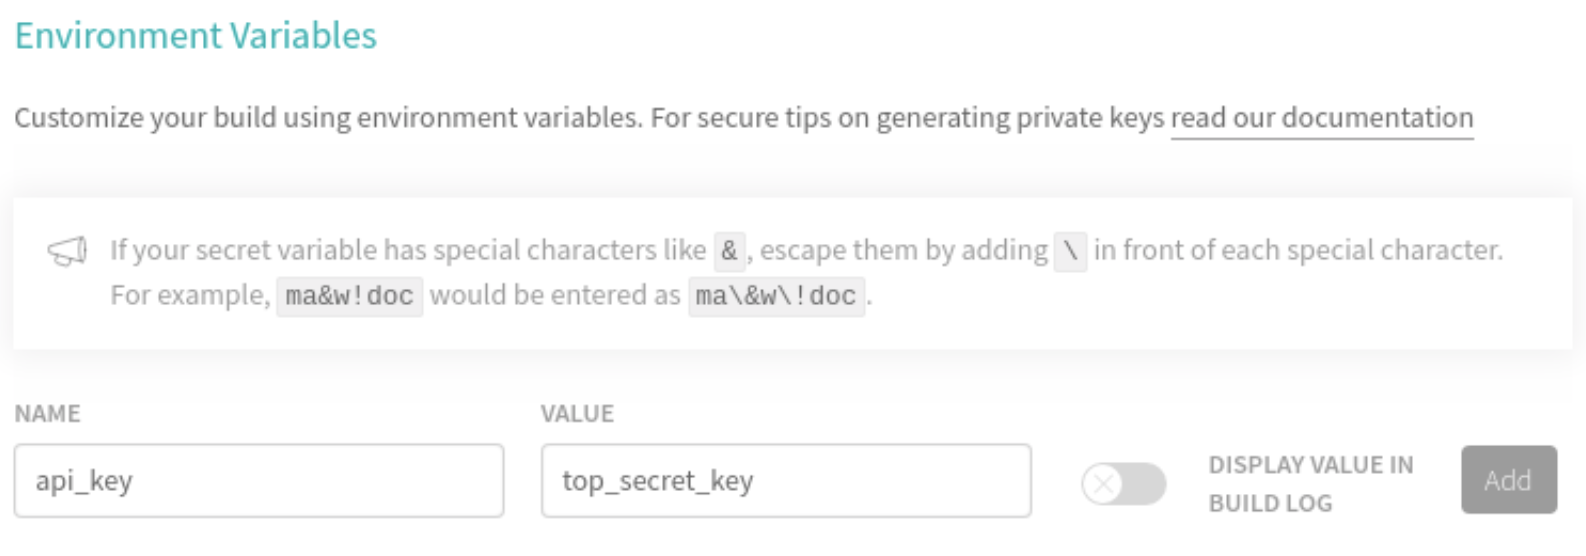
In the case we have an API key, now we could publish this in our YAML file but then the whole world could see it, people regularly monitor public git repos for API keys and passwords that are accidentally leaked. There’s two ways you can add sensitive secrets to your pipeline.
I prefer adding them to the environment variables but either way works.
Next you can add a coverage test with coveralls, just sign up and add your repo
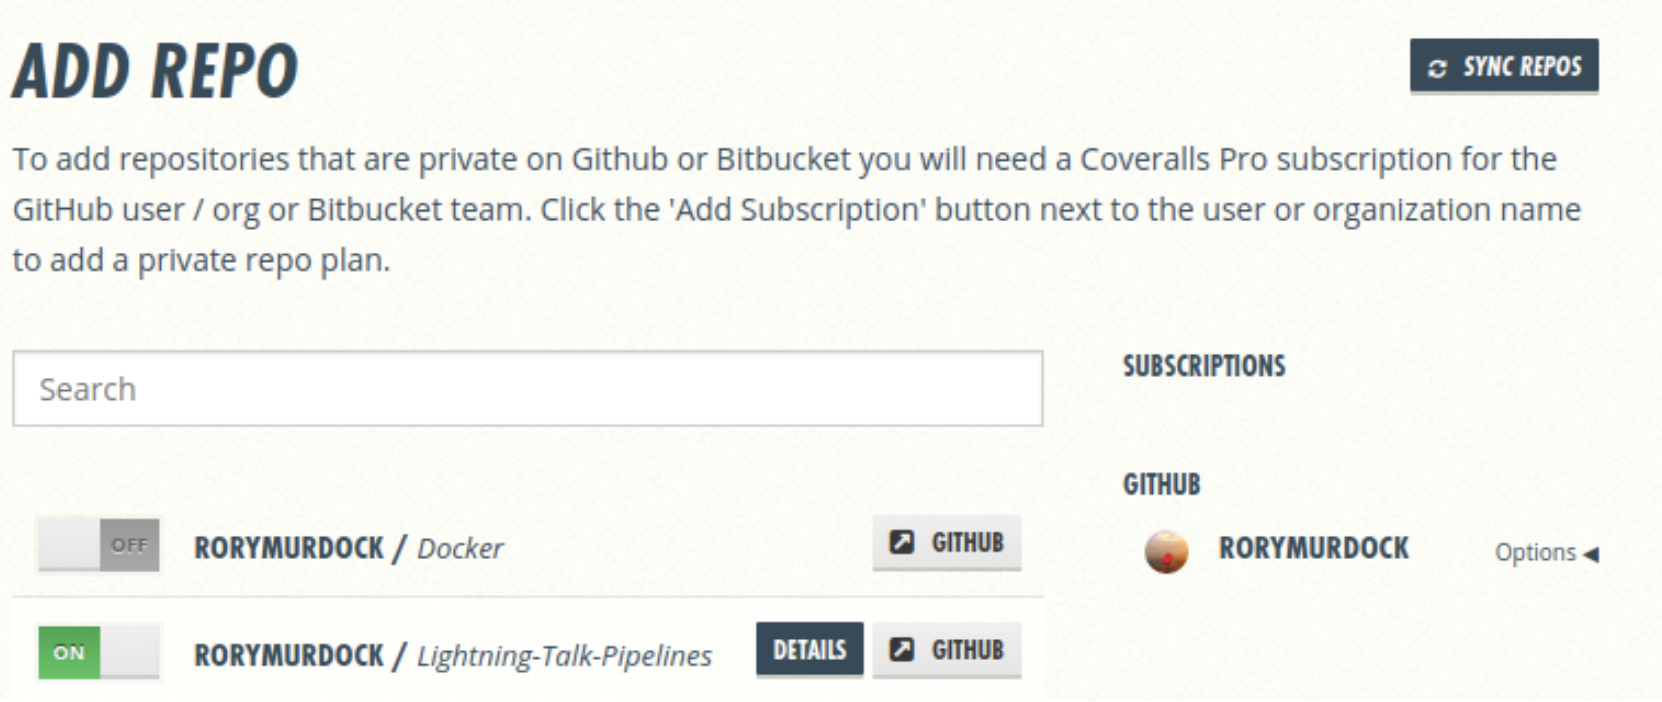
add the webhook

We’ve already covered automatic testing with PyTest refresher
There’s two different modules in the test code, one for the REST API and one for the Transport NSW API you can clone it yourself from here
REST.py, Transport.py, Tests/REST_test.py, and Tests/Transport_test.py are the main files we’re interested in. They each have basic functions and the tests have full coverage.
Commit all files from the example repo your repo

Your commit will call the Travis CI webhook and the test will start automatically
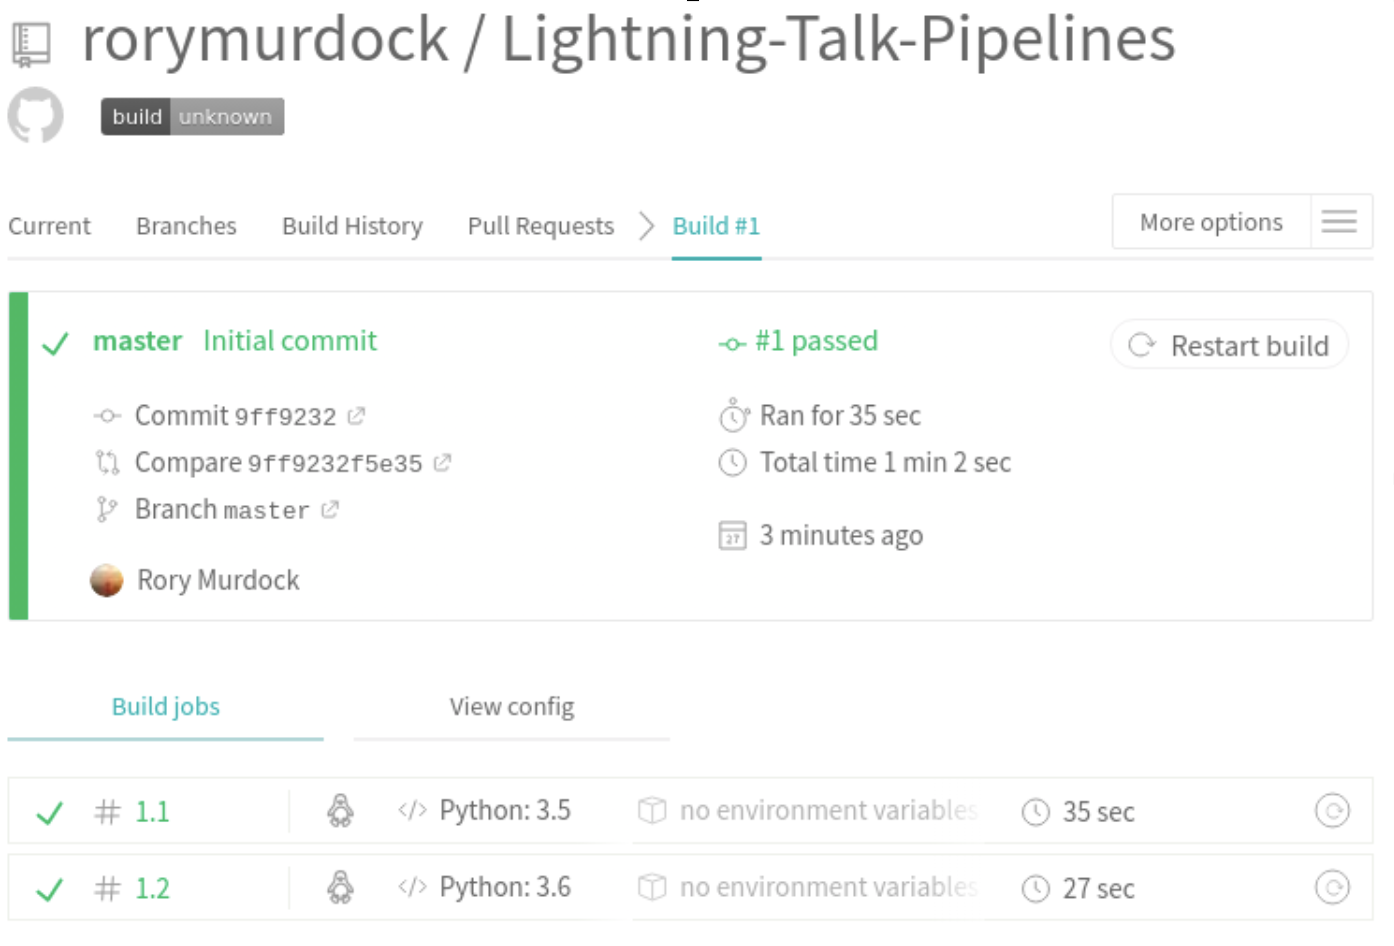
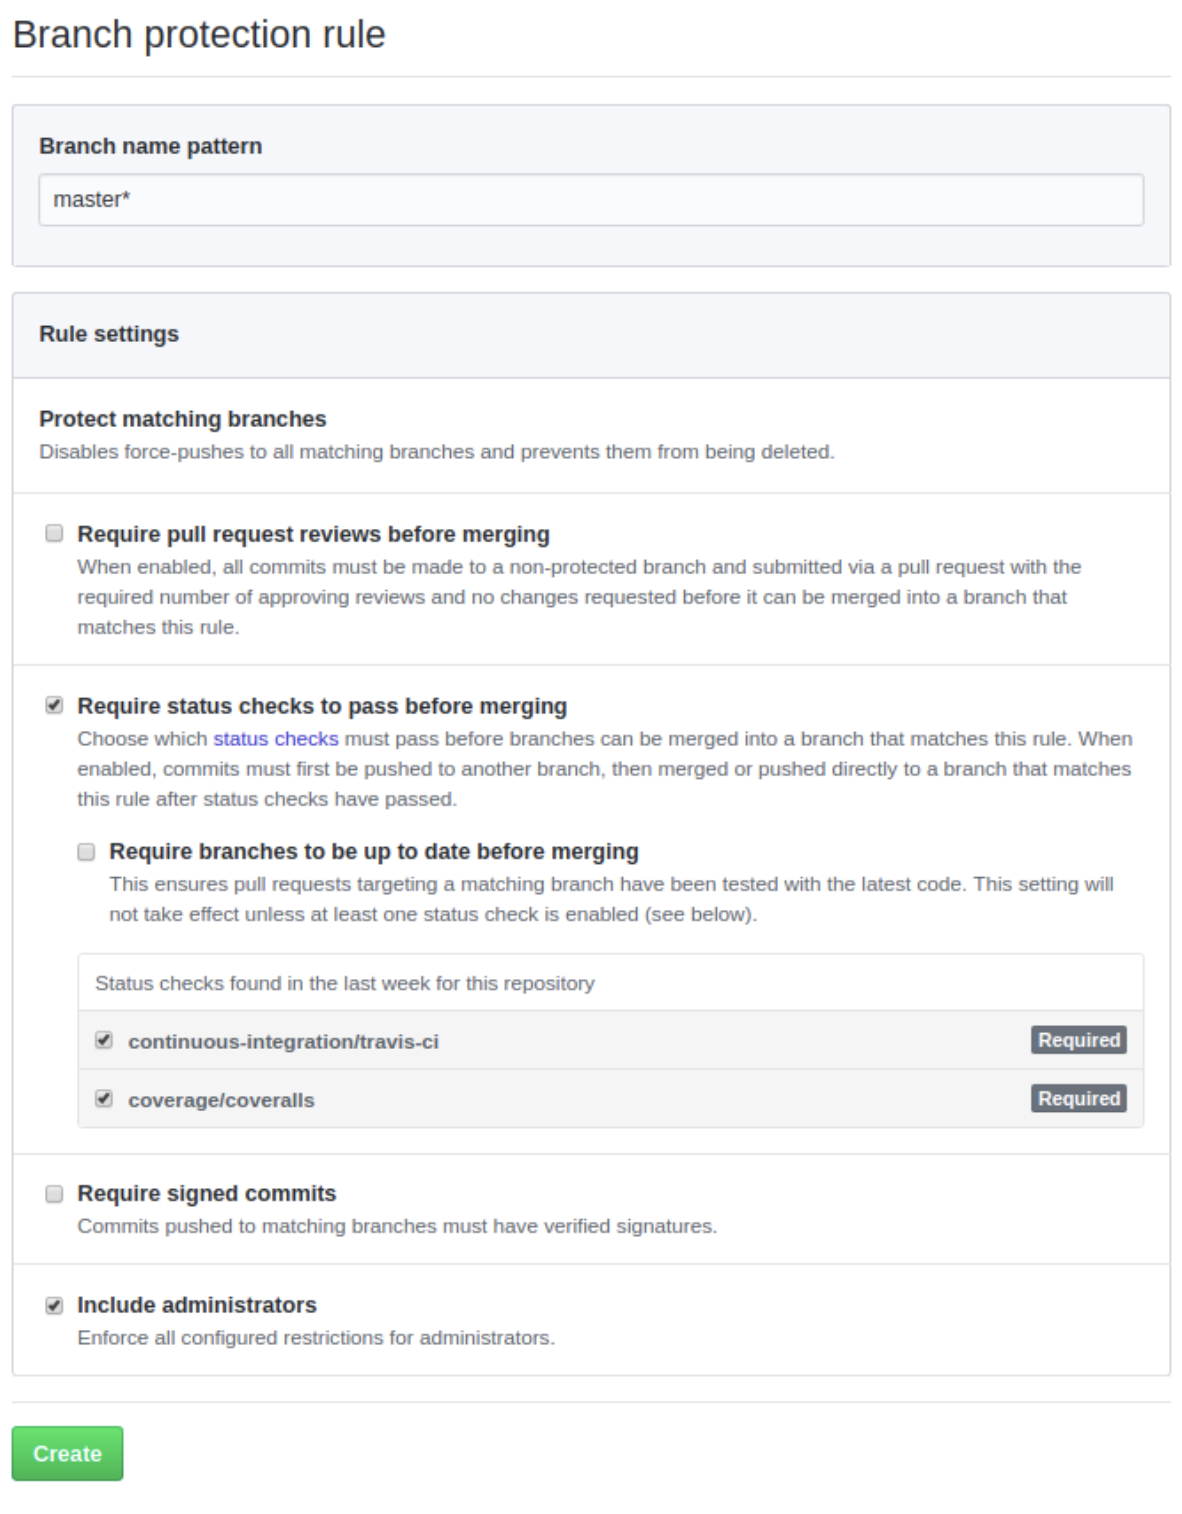
You should protect your main branch so that code can not be pushed directly to it, a branch has to be made, and then a PR will run and build, if the build is successful and it has good coverage only then will it be able to be merge to main.

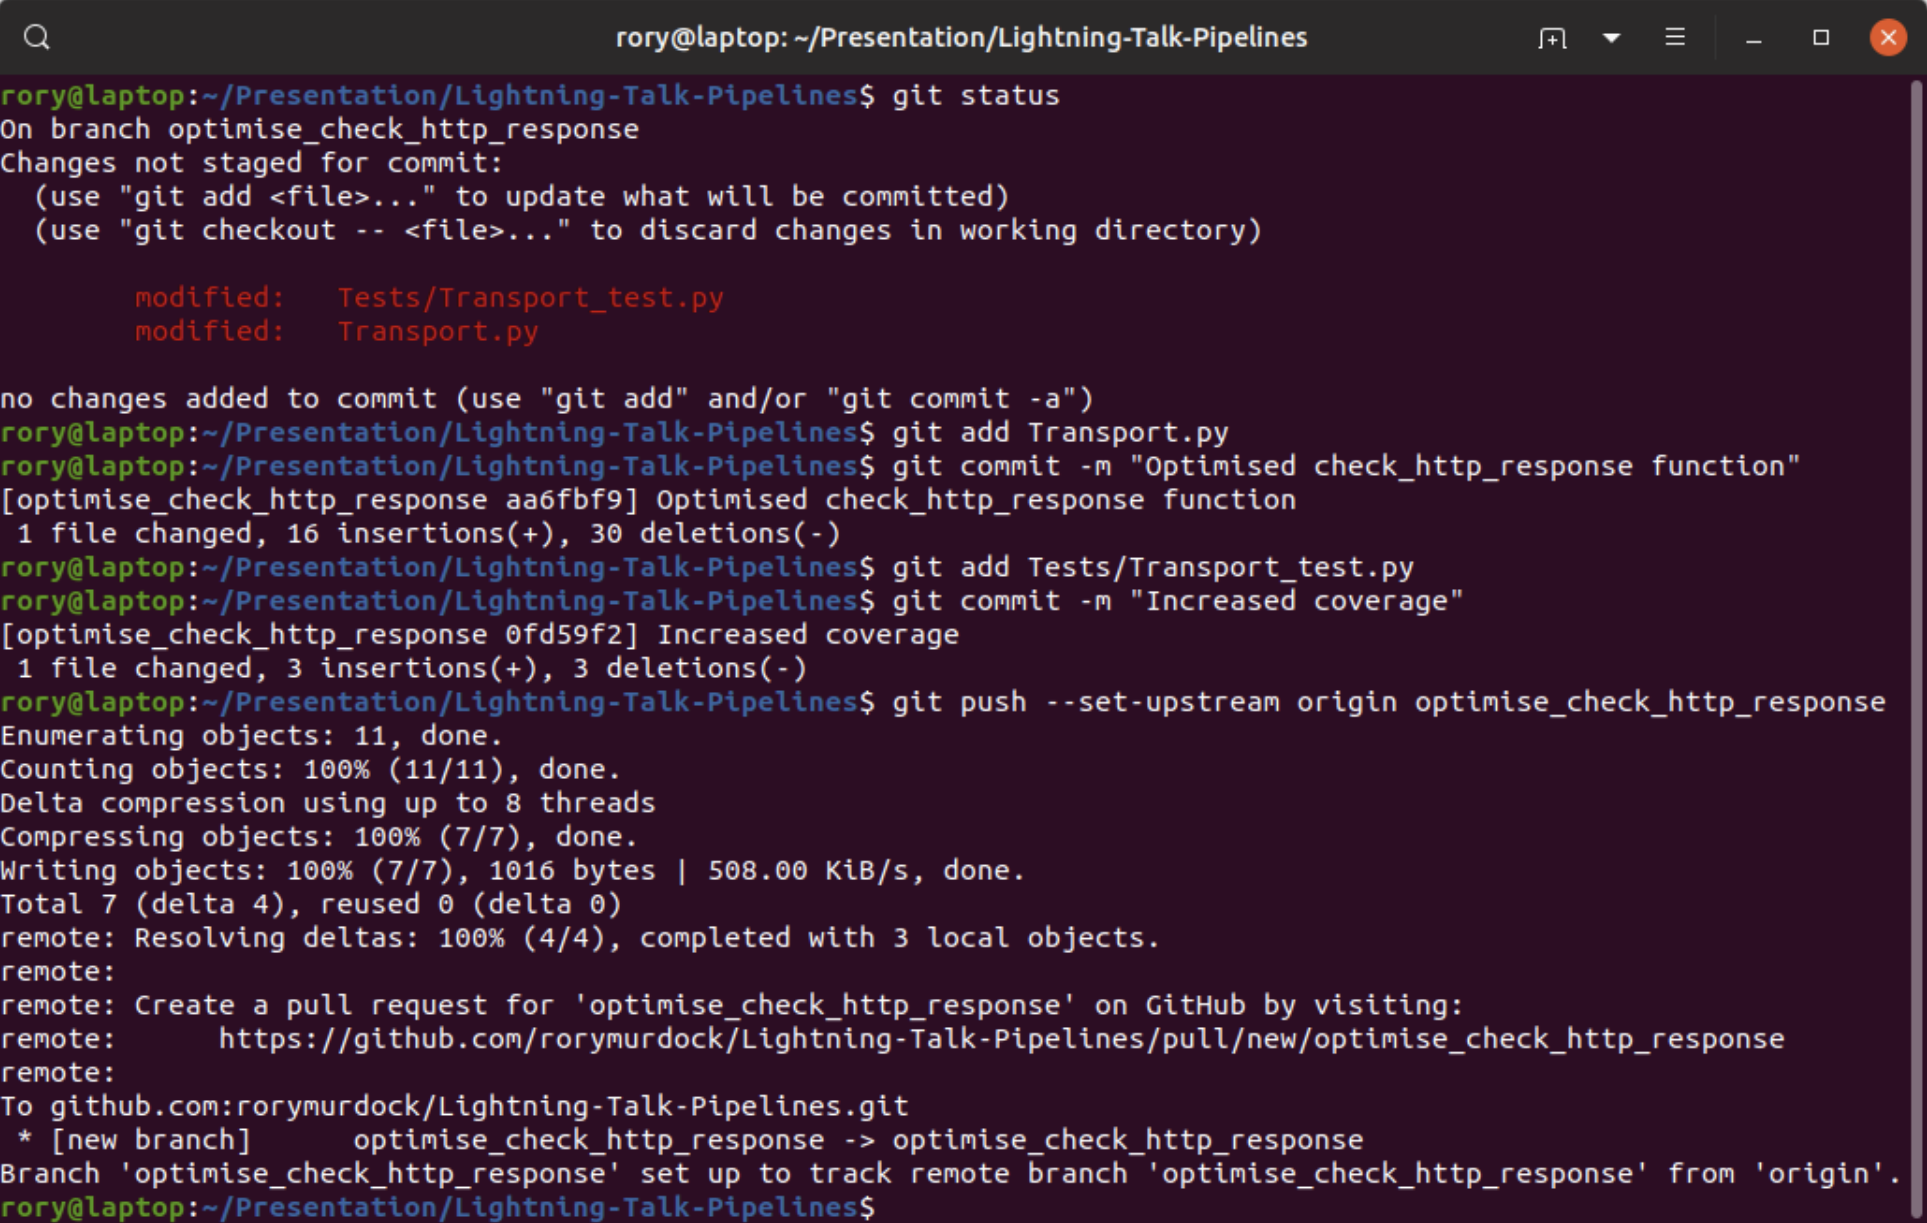
Make your changes and commit it to your branch
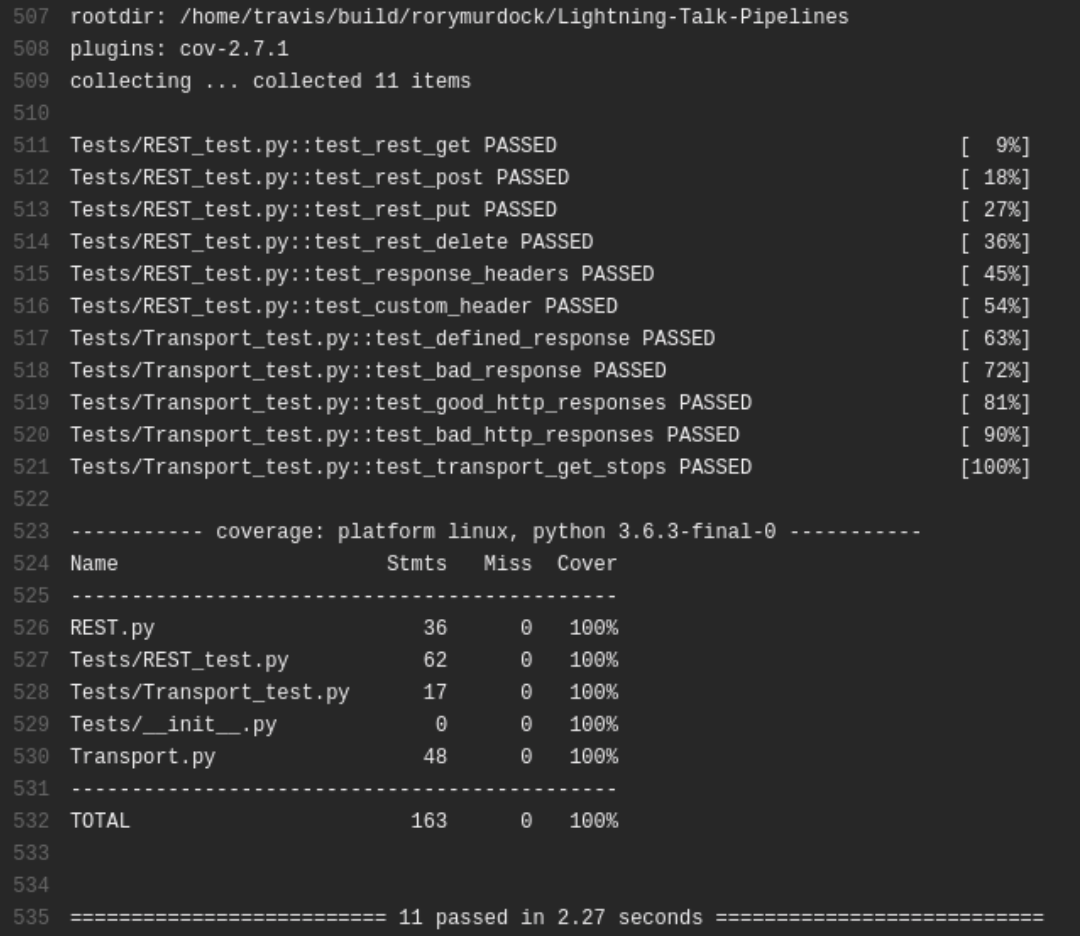
Your tests should pass
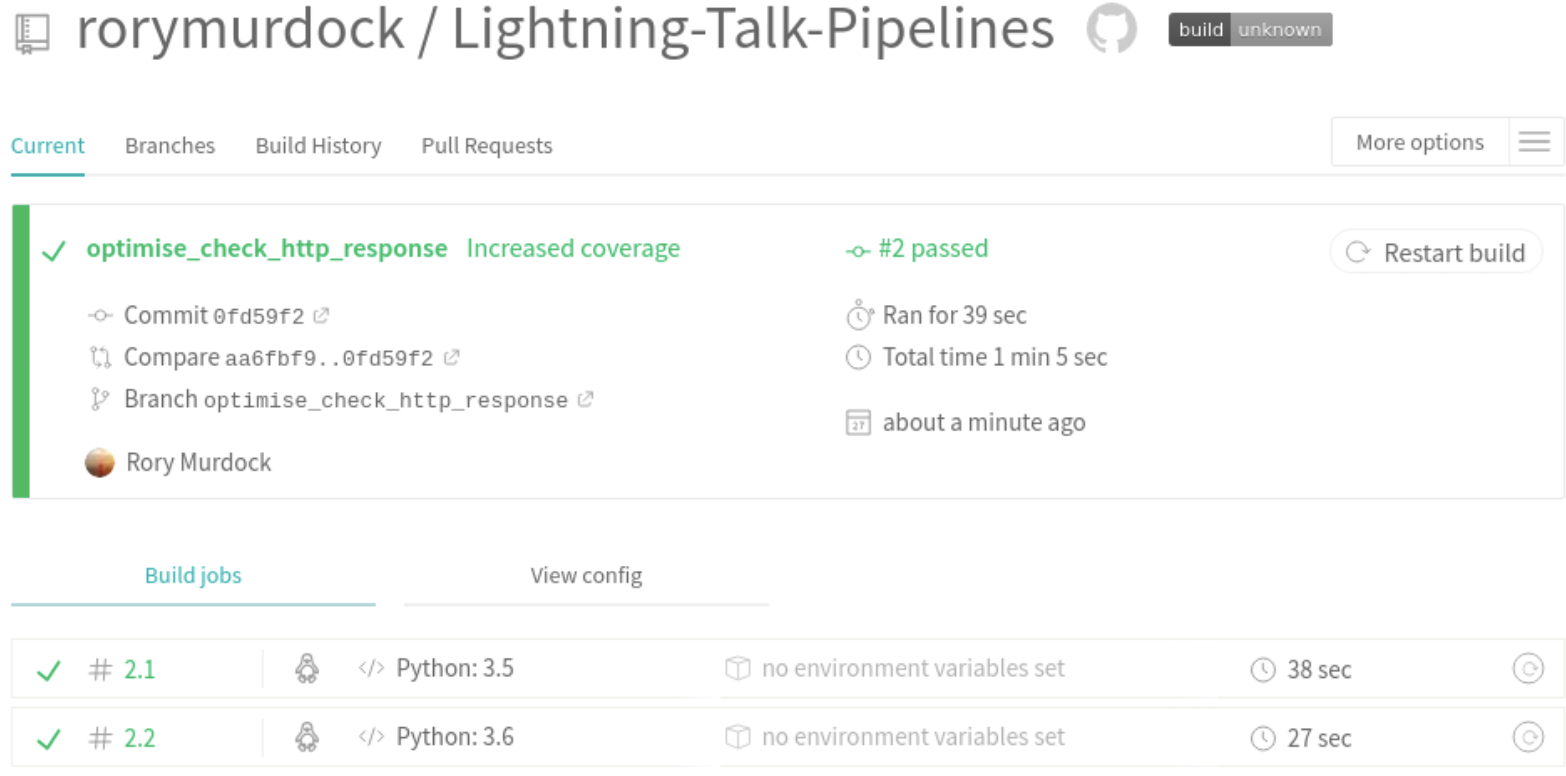
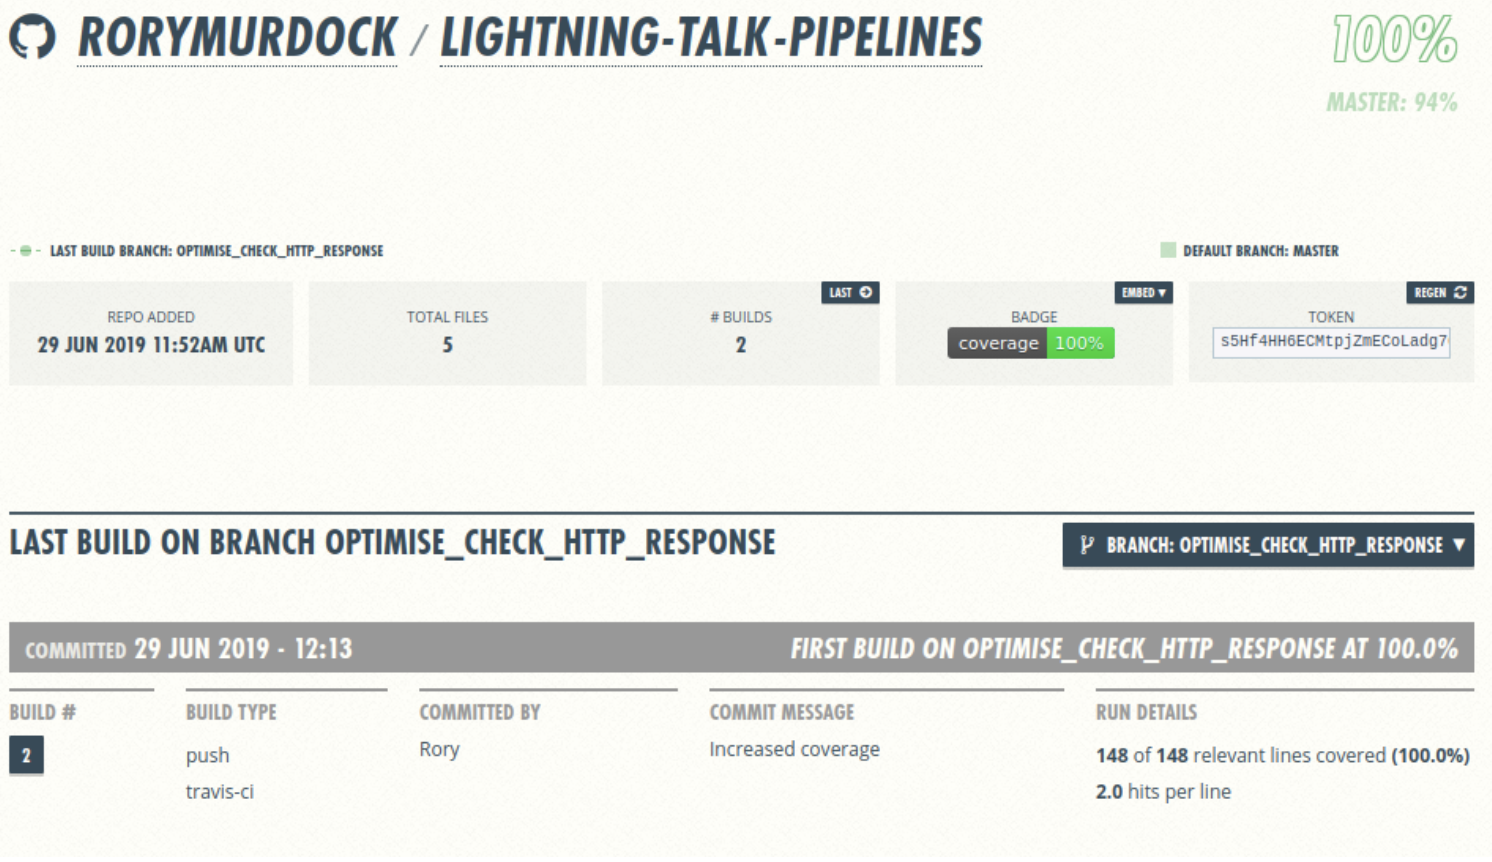
Go to your new branch and open a PR
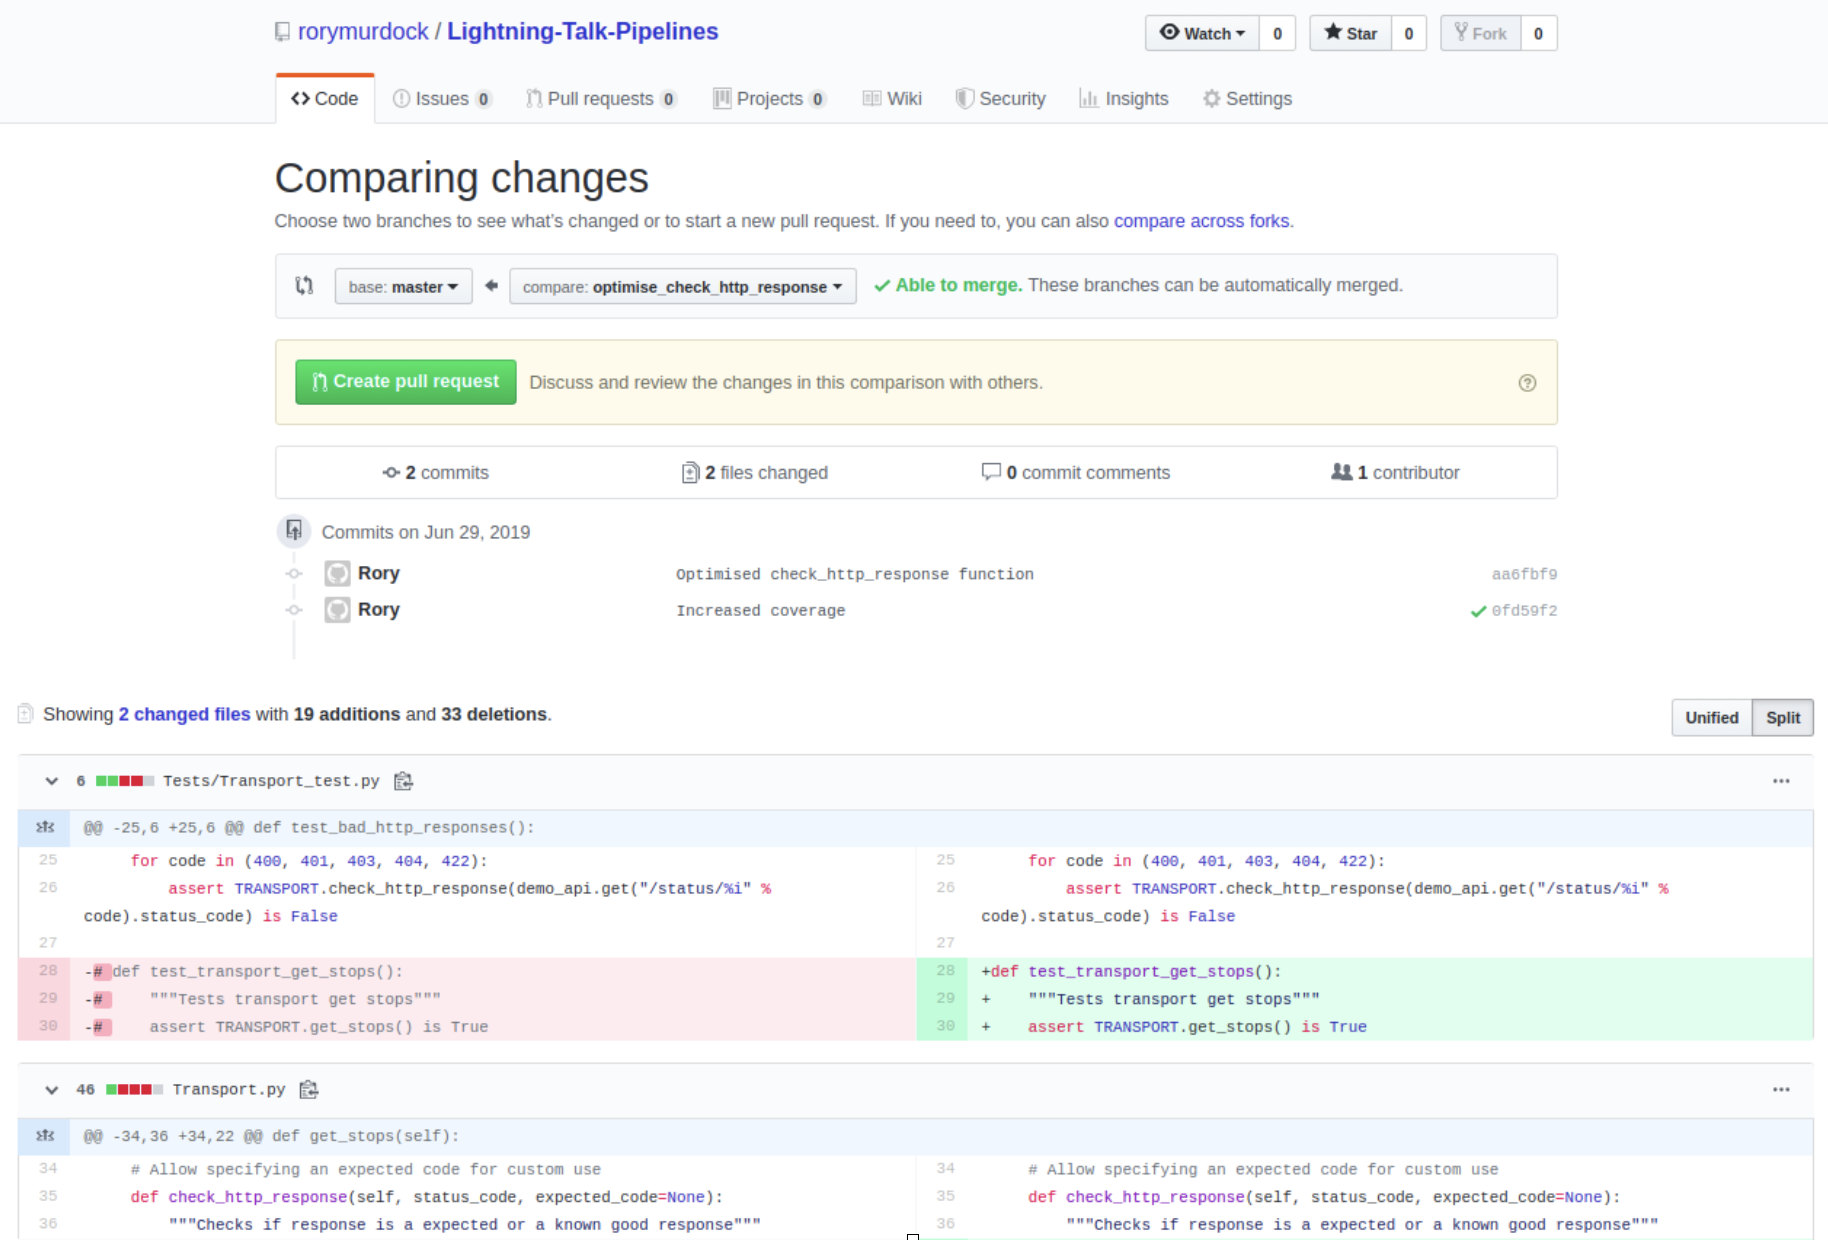
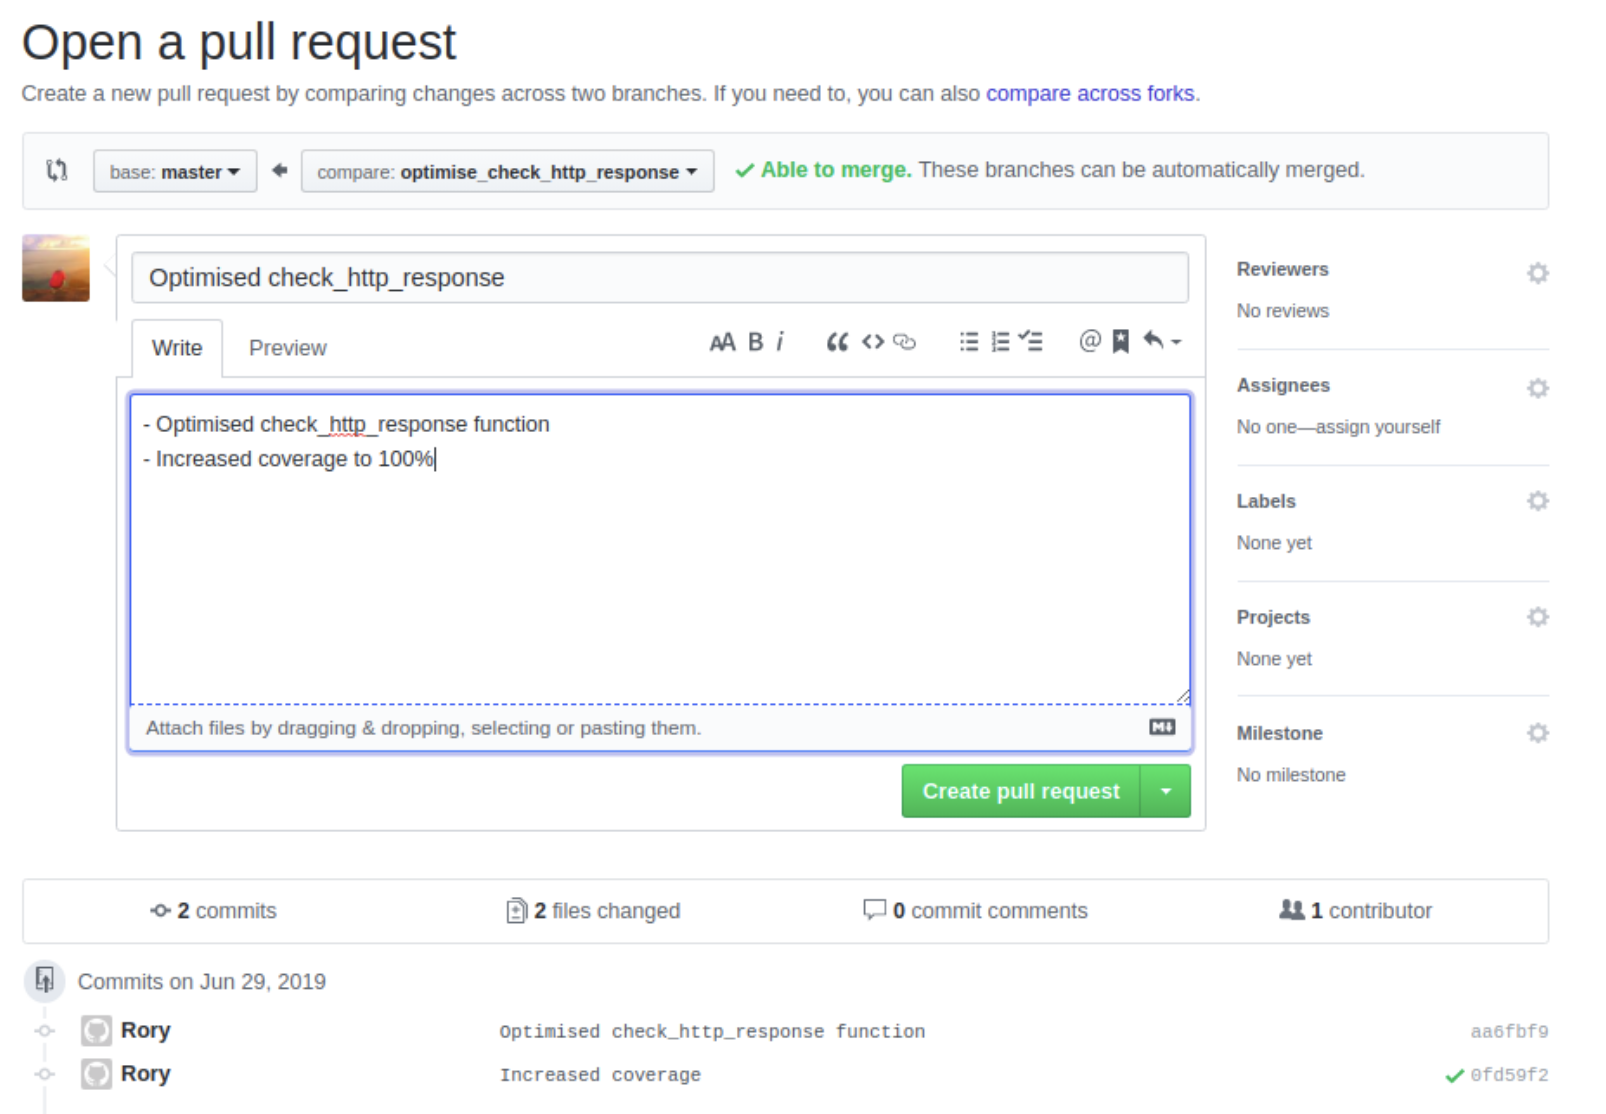
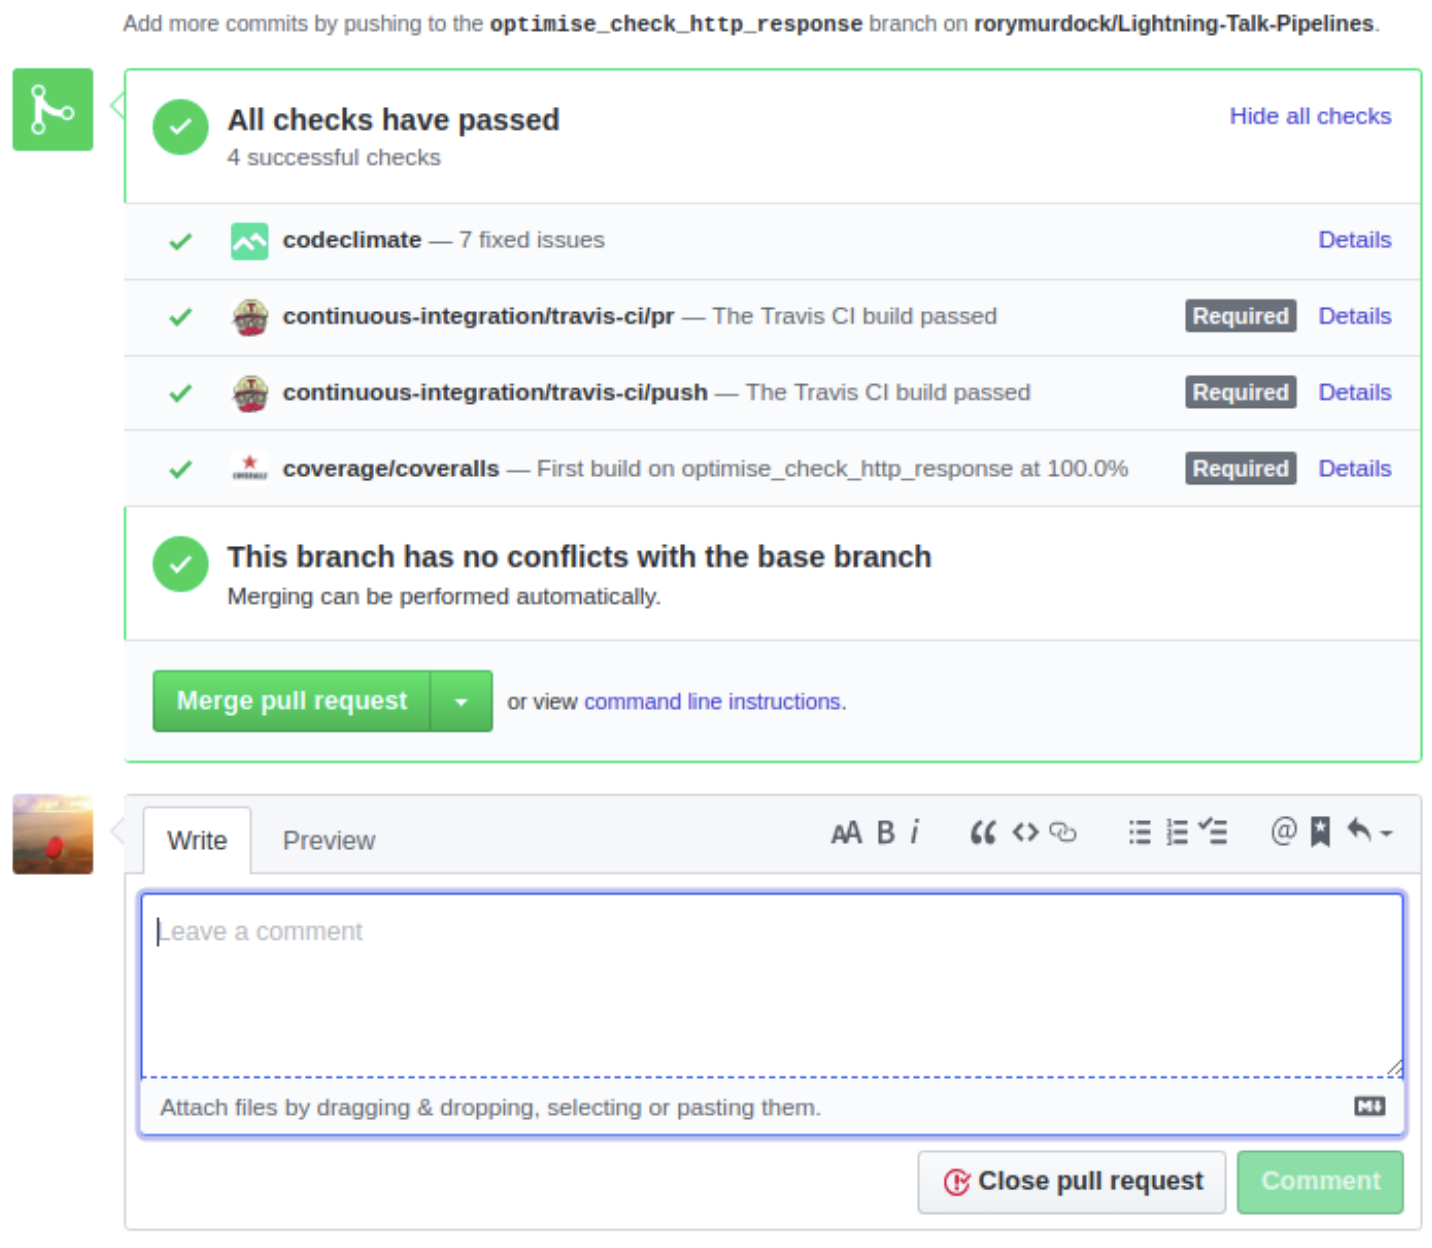
Once you’ve opened the pull request you’ll see all the pending jobs
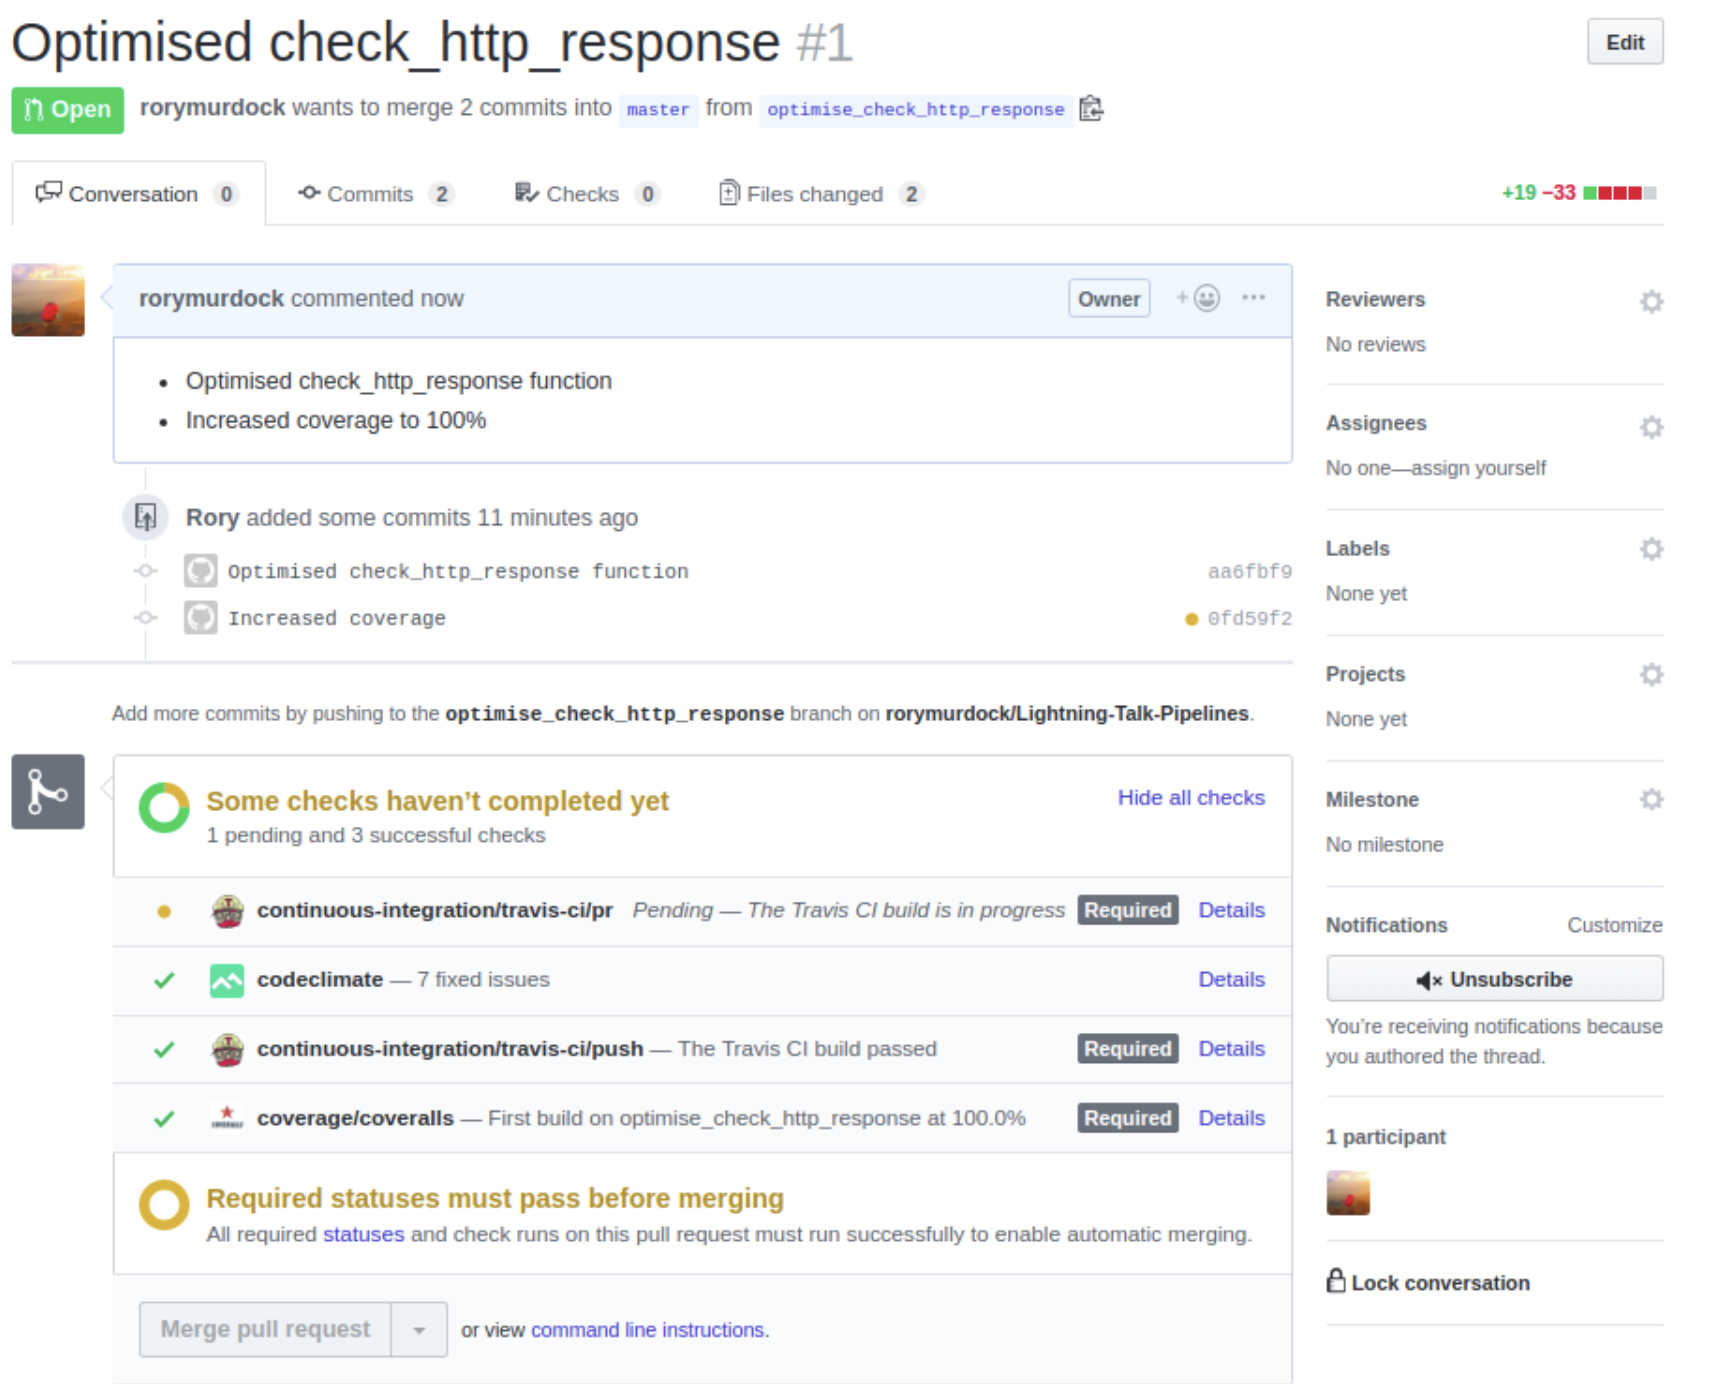
Once all of the jobs have completed, and passed you’ll be able to complete the merge, close the pull request and delete the branch
and that’s it, with continuous testing whenever you commit code it will be automatically tested and coverage checked. You can tie into other services such as Codeclimate for further testing.
