How I’ve setup my Home Lab
Home labs
After not having a proper lab for years I decided to splurge out and get one so I can do some learning and reduce my collection of old mac minis and headless laptops.

There were a few requirements
- Had to be on premise
- Small and portable
- Low power consumption
- Run ESXi
I wanted something local that I could leave running without incuring costs, but I also wanted to be able to take it around with me as I travel a bit. a 2RU used server would use far too much power and be a pain to get shipped here or take around with me.
A micro PC was the best way to go there’s a few good options out there such as
- Intel NUC 9 Extreme
- Intel NUC 10 i7
- HP Z2 Mini G4
- Mac Mini
In the end I chose the NUC10 i7 with 64GB or RAM and a 2TB SSD as it was the best performance for the price, small, and very low power consumption.
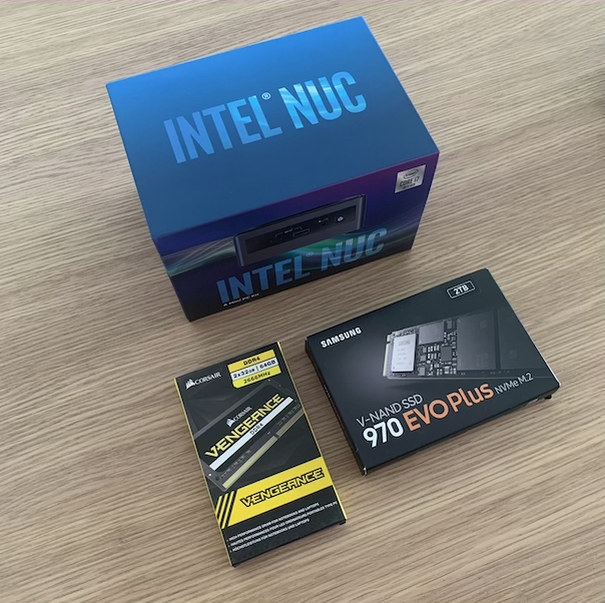
Setup was pretty straight forward, I installed my RAM, m2 SSD, the Ultra fit USB. Put the ESX image on a USB for installation, I did have to modify my ESX image to add in a NIC driver.
You could follow this full guide if you need instructions on how to install ESXi.

Little tip: If you have an Apple Magic keyboard you can use it as a USB keyboard if you plug it in.
The basic outline of what to do:
- Setup vSwitch and port groups for VLANs
- Setup CHR
- Add NATing
- Configure DHCP
- Configure VLANs
- Security
- Deploy VMs
Setup vSwitch and port groups for VLANs
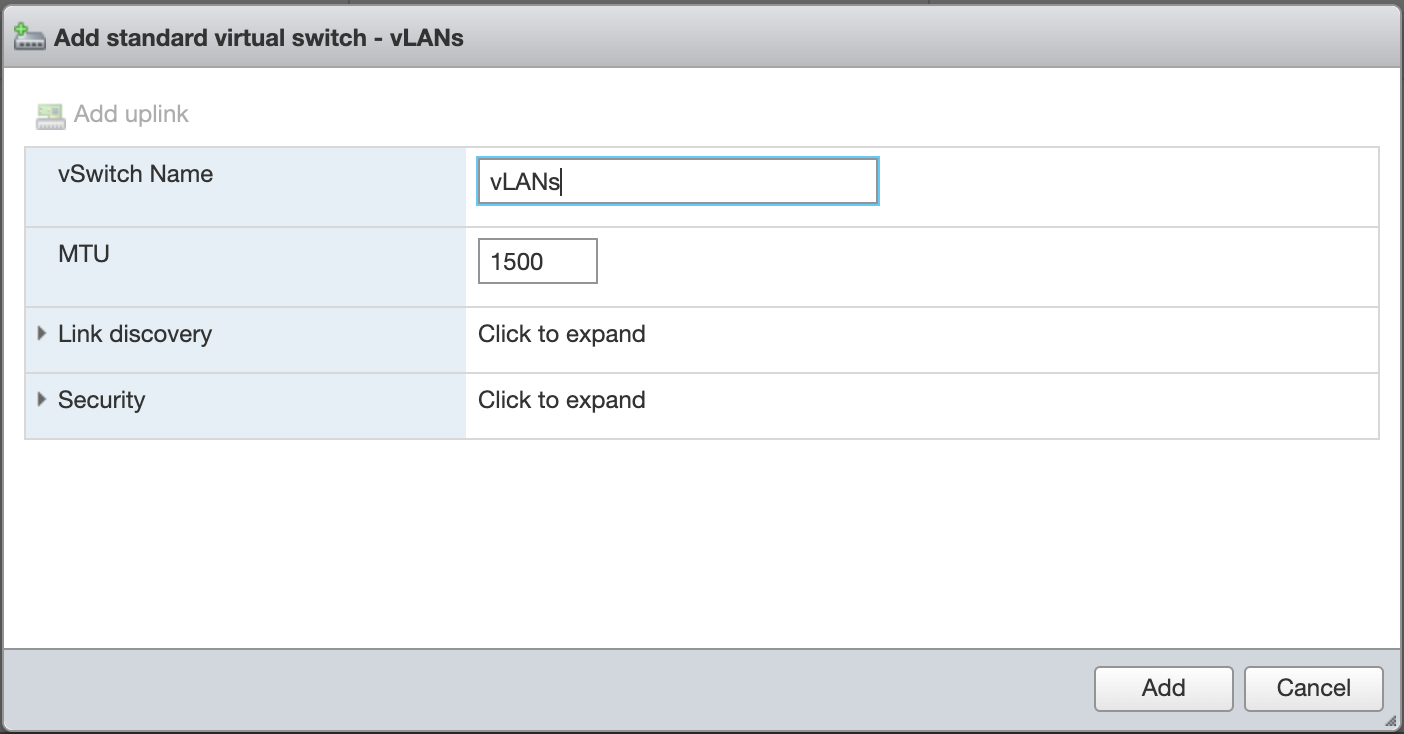
First we need to add a vSwitch for the VLANs, now if we had a physical router we would have a second NIC to act as the VLAN Trunk into our vSwitch however as will be running a virtual router we’ll create the isolated vSwitch with the VLAN port groups each attached to an interface on the CHR.
Create the vSwitch
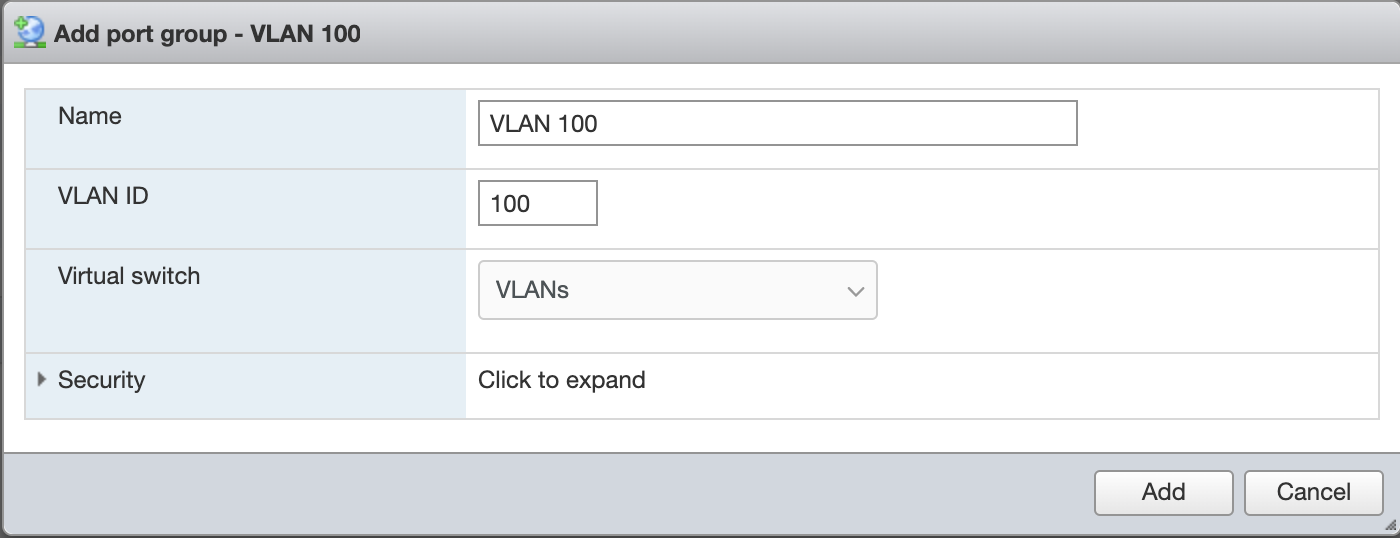
Then create a port group for each VLAN you want
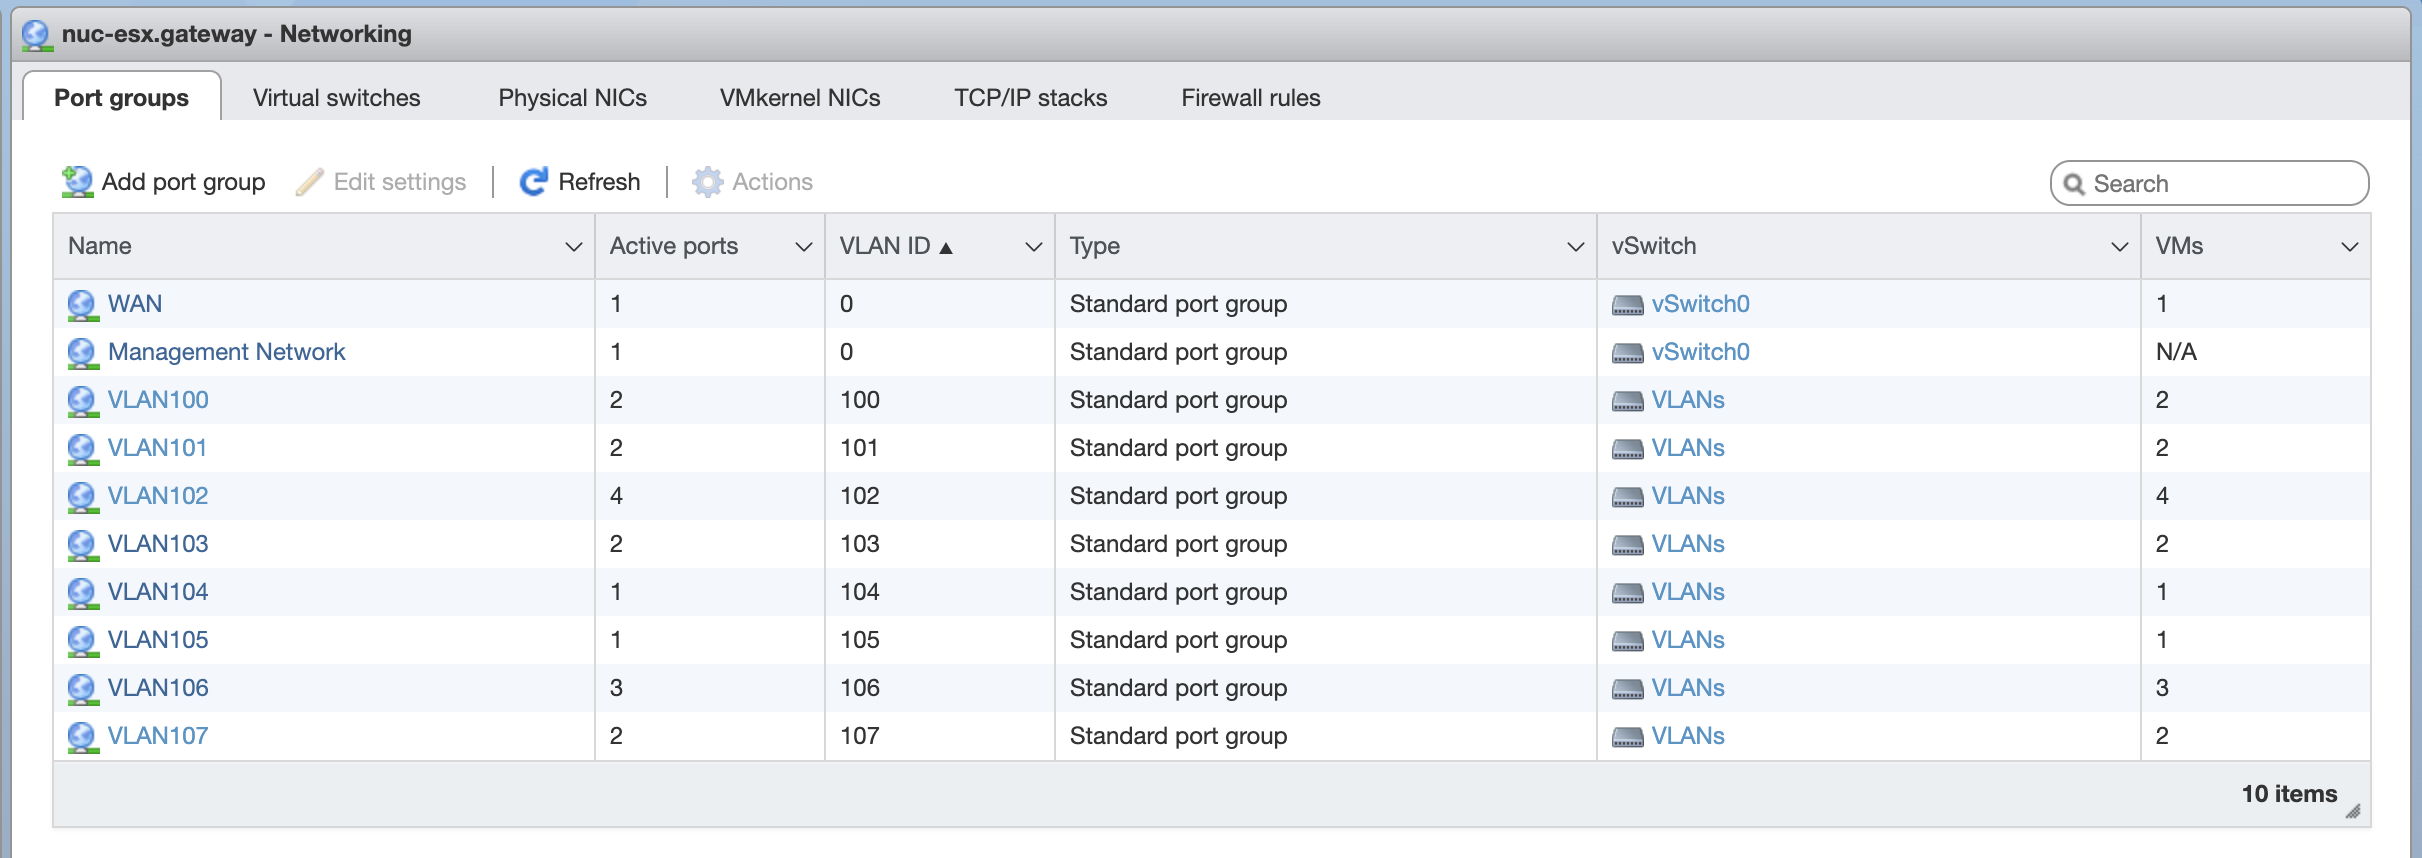
Then add an interface per VLAN to the CHR
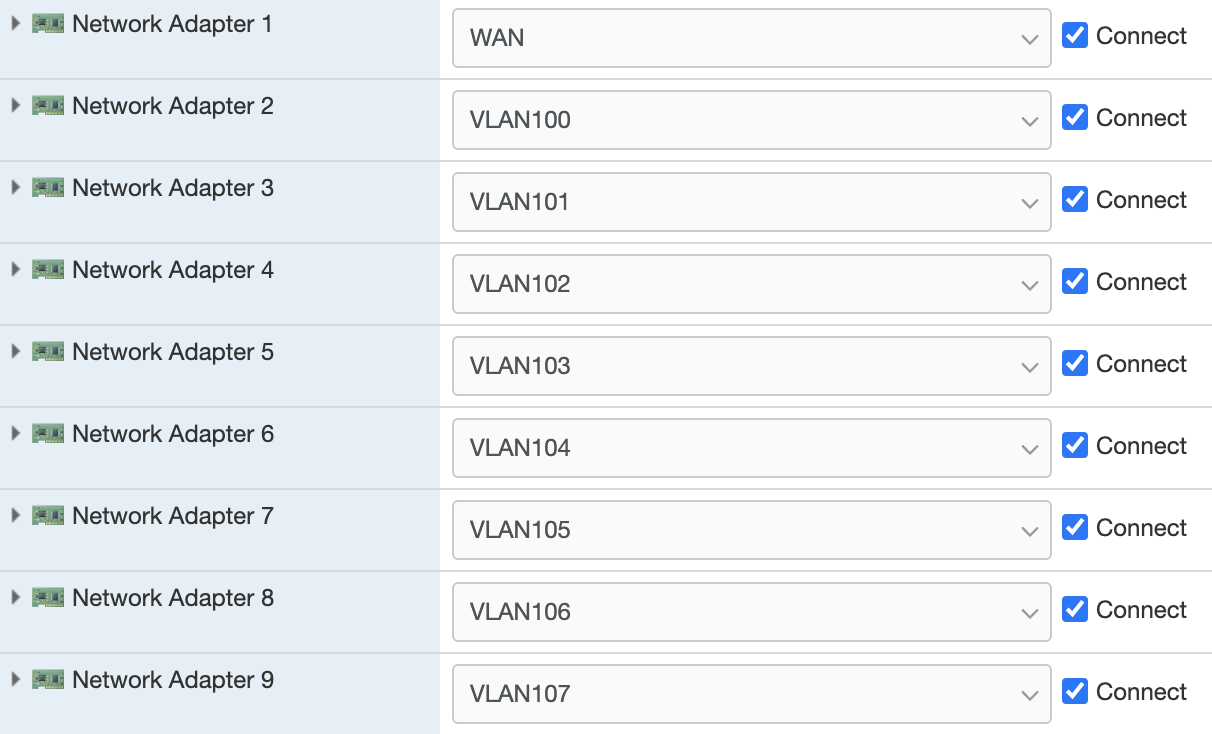
This is the topology of the VLAN vSwitch

Setup CHR
Complete the CHR installation first then
Deploy VMs
Some of the things I’m running on my homelab are
